How To Creat A Website On Blogger || How To Create A Website On Google
Step 1: Sign Up for a Google Account
If you don't
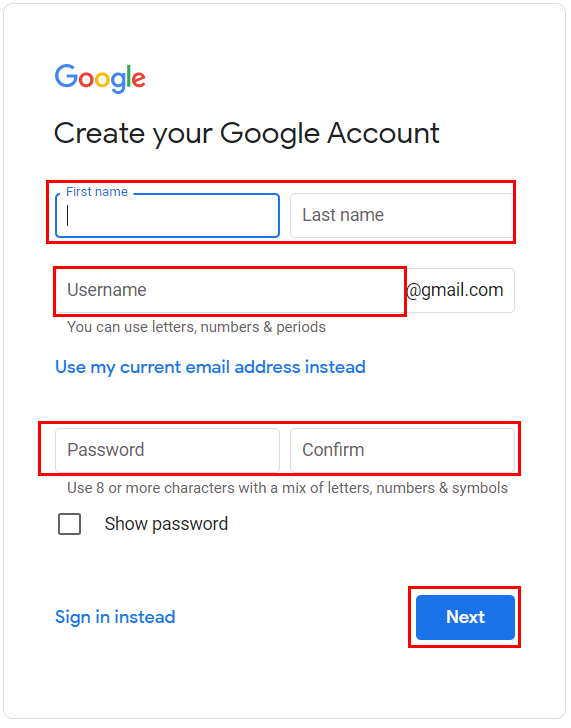
have a Google account, you'll need one to use Blogger. Go to the Google account
creation page (https://accounts.google.com/signup) and follow the instructions
to create a new account.
Step 2: Go to Blogger
Once you
have a Google account, go to the Blogger website at www.blogger.com and sign in
with your Google account credentials.
Step 3: Create a New Blog
After
signing in, you'll be taken to the Blogger dashboard. Click on the "Create
New Blog" button to start the process of setting up your website.
Step 4: Name Your Blog and Choose a Domain
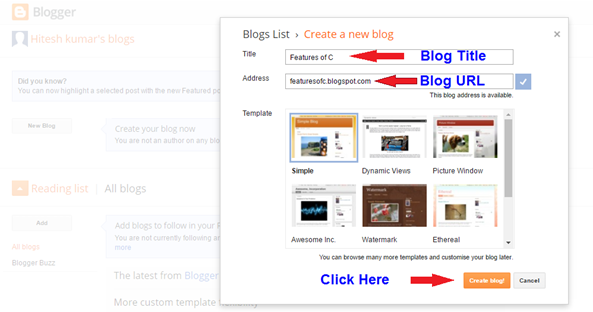
In the popup
window, you need to provide a title for your blog (this will be the name of
your website) and select a domain name. The domain name will be in the format
of "yourblogname.blogspot.com." Choose a domain name that reflects
the theme or purpose of your website.
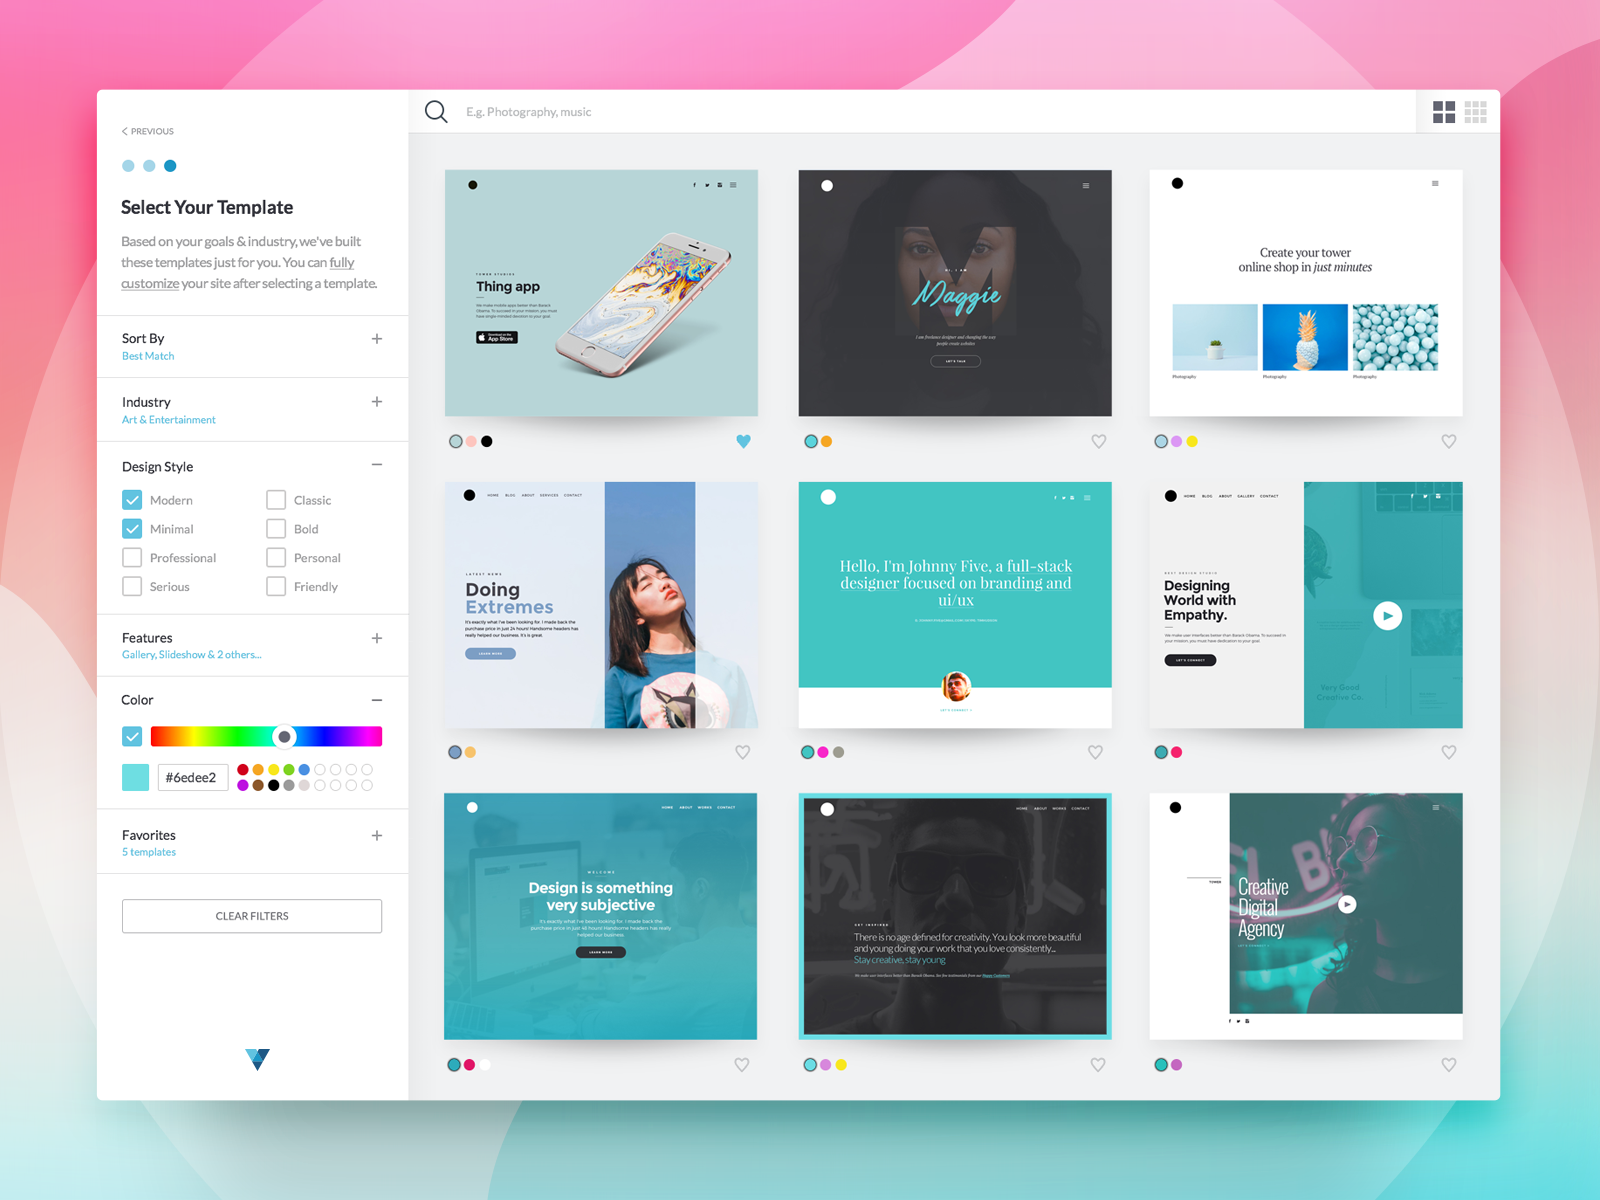
Step 5: Select a Template
Blogger
offers a range of templates to choose from. These templates determine the
layout and design of your website. Pick a template that suits your website's
style, but don't worry; you can customize it later.
Step 6: Start Blogging
Congratulations!
Your blog is now set up. You can start creating your first blog post by
clicking on the "New Post" button in the Blogger dashboard. Add a
title, write your content in the provided editor, and use the formatting
options to style your text. You can also add images, videos, and other media to
enhance your posts.
Step 7: Customize Your Blog
To make your
website look unique, you can customize the layout, design, and colors of your
blog. Go to the "Theme" section in the Blogger dashboard to explore
different customization options. You can also edit the layout of your blog by
going to the "Layout" section.
Step 8: Add Pages and Gadgets (Widgets)
Besides blog
posts, you can create static pages like "About," "Contact,"
or "Services." These can be added from the "Pages" section.
Additionally, you can add gadgets (also known as widgets) to your blog's
sidebar or footer to display elements like an "About Me" section,
social media icons, or a search bar. You can manage gadgets in the
"Layout" section.
Step 9: Preview and Publish
Before
making your blog live, use the "Preview" option to see how it looks.
When you are satisfied with the changes, click the "Publish" button
to make your website accessible to the world.
Step 10: Share and Promote
Once your
website is live, start sharing your blog posts on social media platforms and
engaging with your audience. Regularly update your blog with fresh content to
keep your readers coming back for more.
That's it!
You've now successfully created a website on Blogger and can start sharing your
thoughts, ideas, and content with the world. Happy blogging!





0 Comments